
|
|
|
#1
 01-03-2008, 03:25 AM
|
|||
|
|||
|
Hey, I was asking prior to the reset about the wire upgrade. I was looking around and doing a little more research, I was wondering about a couple things. Idk if anyone's seen it but would the 20g wire on Mainiac Motors site work well for the upgrade on my Gen 1, and the 18g for my Evo? Also, some of the research I was doing talked about drilling into the board. Do I have to, and is there an tutorial or can someone tell me how to carefull do it... I dont wanna blow it out >.< (it'd suck if that happened)

|
|
#2
01-03-2008, 05:00 PM
|
|||
|
|||
|
Quote:
Yes, the 20g wire on Maine-iac-Motors will work just fine, or try PN Racing silicon wire of 20g. Use 20g as it has good flex, and can stand a lot of current. As for the Evo, you have a lot more room, so do the AM 18g Superflex mod. DO NOT DRILL YOUR BOARD FOR THE GEN1. I tried it, and the motor and battery contacts came off the board. Just tin the spots with a LITTLE dab of solder, then solder the battery and motor wires straight up. Solder them so they stand up, and make sure nothing bridges.
|
|
#3
01-03-2008, 10:42 PM
|
|||
|
|||
|
I was hoping you'd re-register, welcome back, and thanks lol, I know you were answering my questions before. Hey, I'm just wondering though, isn't Mainiac's 18g Wire the same as AM's? (trying to save myself some shipping ya know?)
|
|
#4
01-03-2008, 11:28 PM
|
|||
|
|||
|
Quote:
Can you PM me a link, I can't get to the site for some reason.  It's prob not, but that teflon coated or skinny wire ISN'T the 18g upgrade, I think they sell silicon wires, that's what you want!
|
|
#8
01-05-2008, 06:00 PM
|
||||
|
||||
|
Here are some chassis pics of my gen1 scion and my evo skyline.
Both chassis have 18G wire upgrade. The evo chassis has AWD and locked rear diff and the gen1 has tight turns and s2 yellow motor Sorry for the bad pics. Its the best I can do
__________________
 Team ACCENTS Founder Team Ford GT Founder
|
|
#9
01-05-2008, 06:07 PM
|
|||
|
|||
|
I got like 100 feet of 18AWG wire for $1.99. Its speaker wire but it still can be used (correct me if I'm wrong) I will post pics ASAP. I recommend reading this tutorial first then start to rewire your xmod.
supplies: Several Ft of 18AWG Wire(or wire of your choice) I used speaker wires Wire Cutters Soldering Iron Desoldering Braid Wire Stripper or Sharp knife Red and Black Sharpie (not required but recommended) ------------------------------------------------------------------------------------- 1. Use wire cutters to cut the wire into your preffered length. Use a wire stripper or a knife to remove the rubber tubing from the wire tips. (remove 1cm of the rubber tubing tip of each wire) 2. Get out your Xmod (duh!) and desolder the wires connecting the battery holders. Remove all wire you want to be replaced. NOTE: draw a diagram how the wires go just in case you forgot where the wires go or you can just find a wiring diagram online. 3. Tin the wires that you are going to use to rewire your Xmod 4.Solder the wires according to the diagram. If you are replacing the wires that connect to the EP from the battery packs becareful, you dont want a fried EP. Use the 5-second rule or the 8 second rule to avoid burning . (I forgot what second) 5. Make sure the wires fit nice and good. If the wires rubber tubing isn't colored, use the Sharpies to mark out the -'s & the +'s. (red positive, black negative) 6. Gently pull the wires if one comes off you need to resolder. You dont want your Xmod to short circut and ruin your Xmod. 7. Put your car back together and test fit it with the body.Make sure no wire gets caught in the wheels, diff, gears....etc. 8. Test your car out. If everything works Good, Get out a soda and jug it down. If not repeat step 5-7. If you have any problems put them here. Suggestions are also welcome. I will post pics up Wink Enjoy that rewired Xmod Pics: [They are old and that Gen 1 Died long ago =( ] 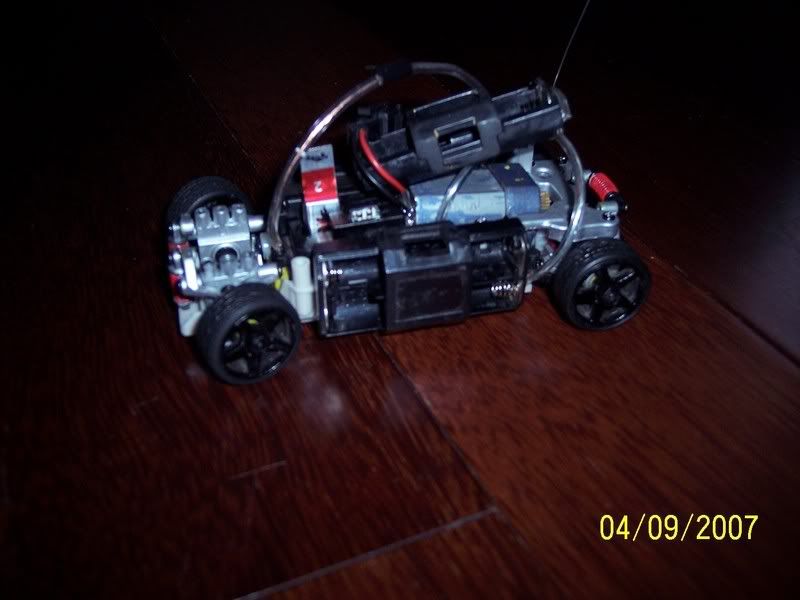 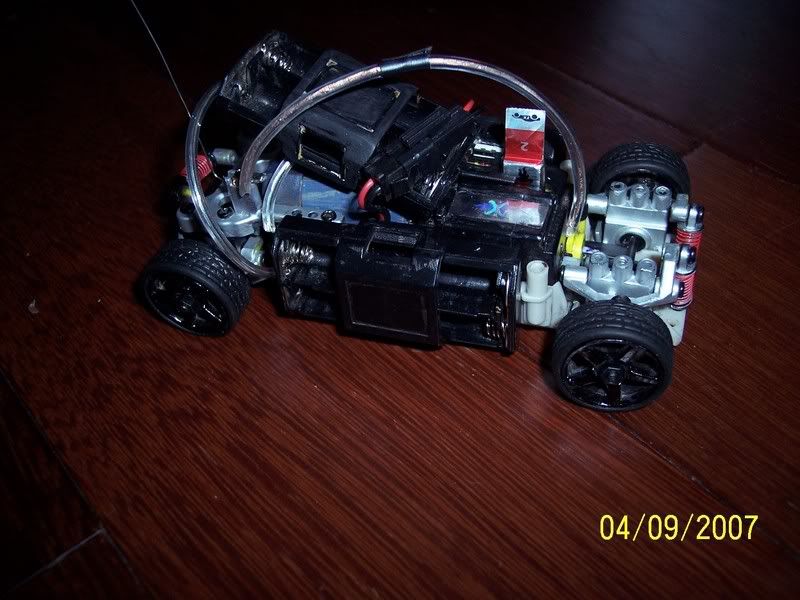 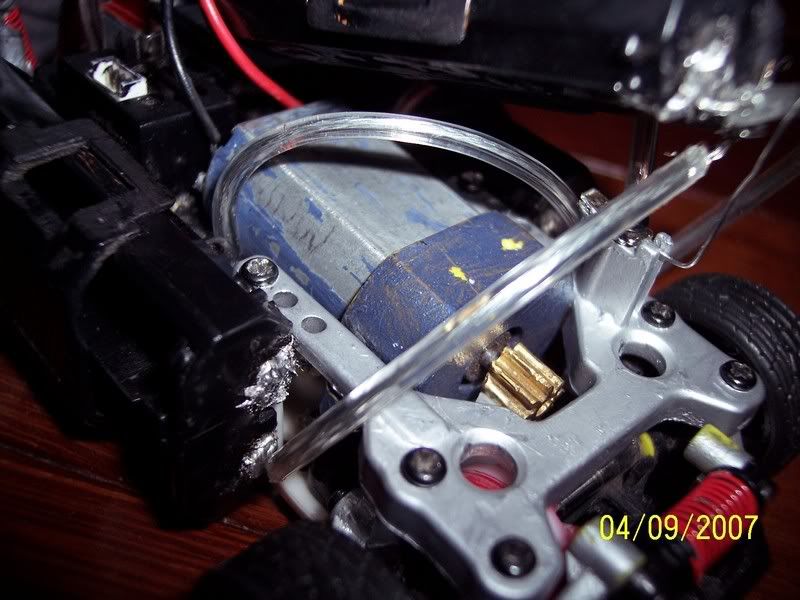
|
|
#10
01-06-2008, 12:48 AM
|
|||
|
|||
|
Thats for the pics and the tutorial, did you type that yourself?
Thanks Nissanshift, the pics were a little dark but I made out what you did with your Evo, and I couldn't really see the Gen 1 but I think I have an idea. EDIT* btw what was it like running a 180 Motor with 6 Cell? Last edited by Kaze; 01-06-2008 at 12:53 AM..
|
|
#11
01-06-2008, 01:58 AM
|
|||
|
|||
|
Hey Kaze, you can also add in Deans plugs, for the batteries and motor.
Mainiac Motors sells plugs pre-made, and the plugs brand new. For your batteries, I would deff do it on the gen1 for and possibly for the EVO. For the motors, it's a good idea, so it's an easy-peasy swap between motors.
|
 |
| Currently Active Users Viewing This Thread: 1 (0 members and 1 guests) | |
|
|


 Linear Mode

