ok guys, here is is finally, sorry it took so long
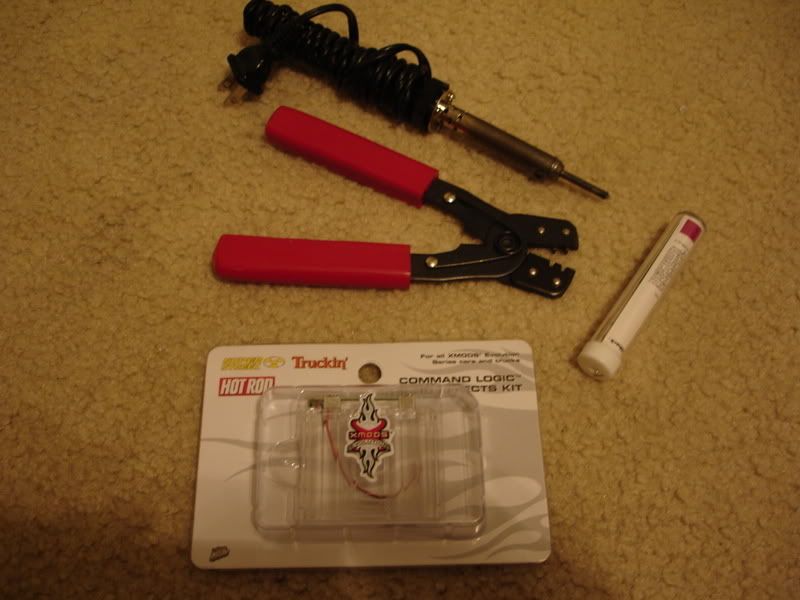
What you will need:
Hobby Knife
pliers (something to hold the leds with)
soldering iron
solder
2 working 3mm l.e.d.'s in the color of your choice (i went with red for this)
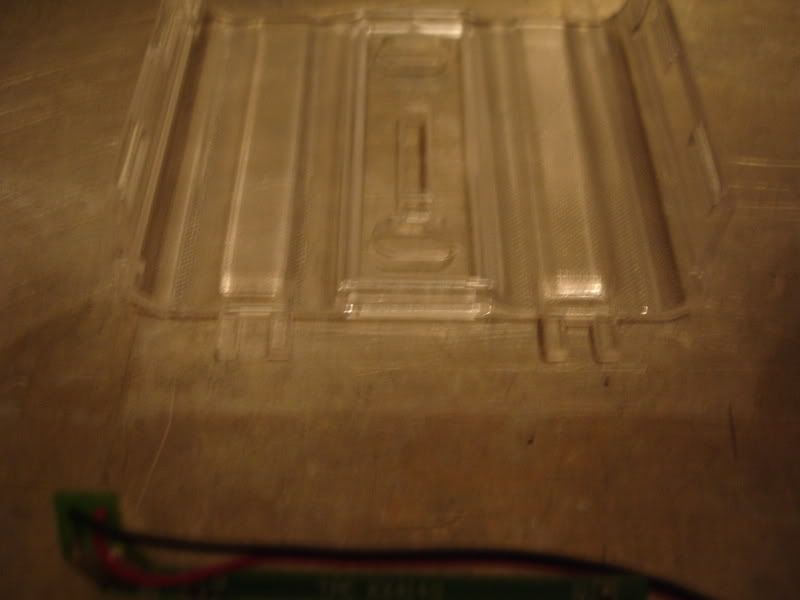
start by taking off the silver tape around the original green leds
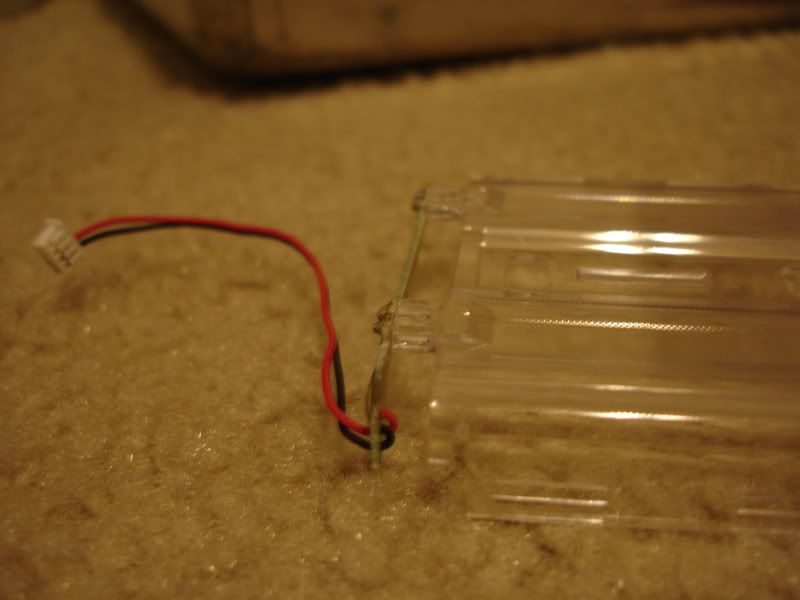
carefully remove the green leds and board from the battery cover (i found that it helps to use pliers for this)
now use the soldring iron to remove the green leds from the board (i usually have a friend hold the led with plier while i hold the board and soldering iron)

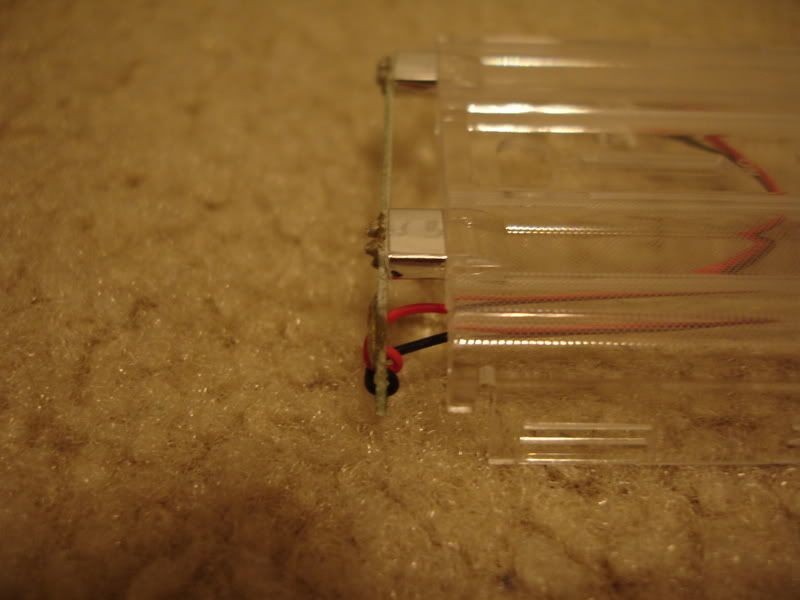
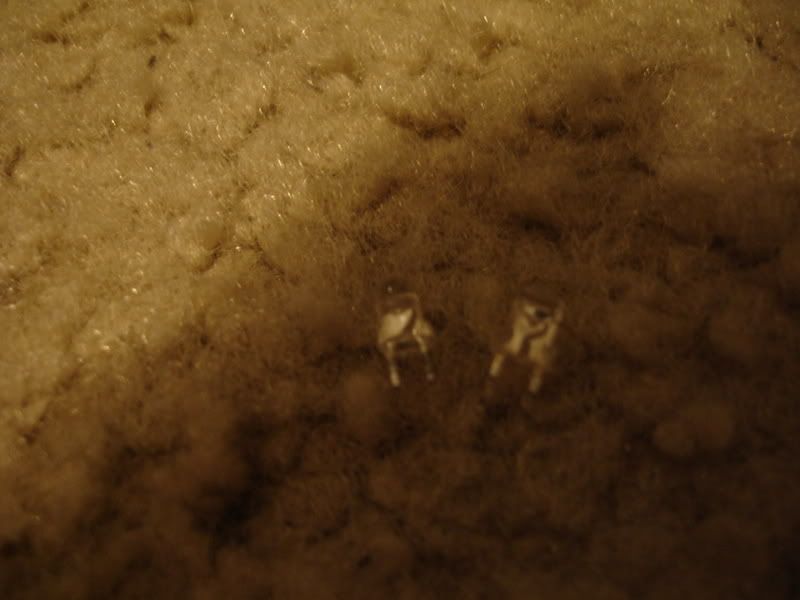
when putting the new leds in you must know which side is positive and which is negative, you can do this by looking at the metal tabs inside the led. notice the direction of the angle between the 2 pieces, and you can see the angle in the previous picture with the leds still attatched
after soldering the new leds on you will have something that looks like this
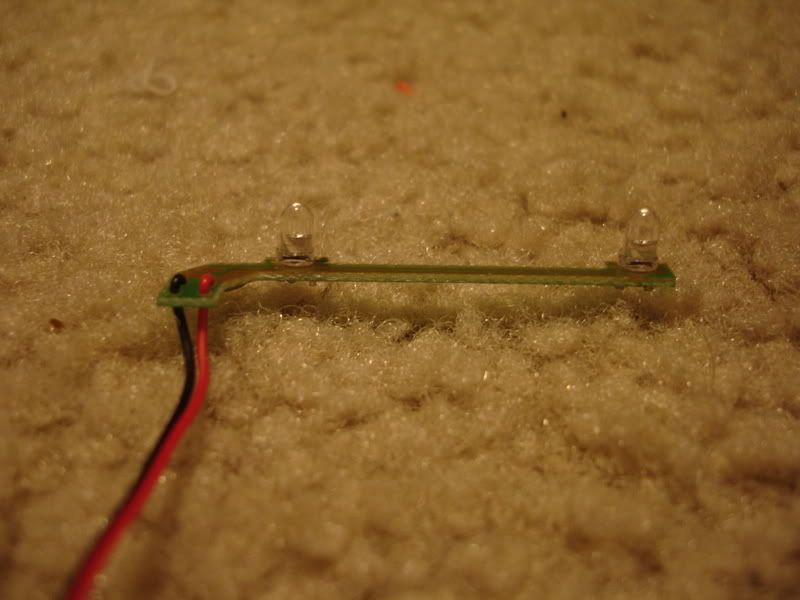
even if it looks like this it may not work though, you may have a burnt out led or you may have connected the positive and negative on the back of the board. if you have a burnt out led you will have to get a new one, but if you have soldered the + and - together you can use a hobby knife to seperate the two sides and it should work fine
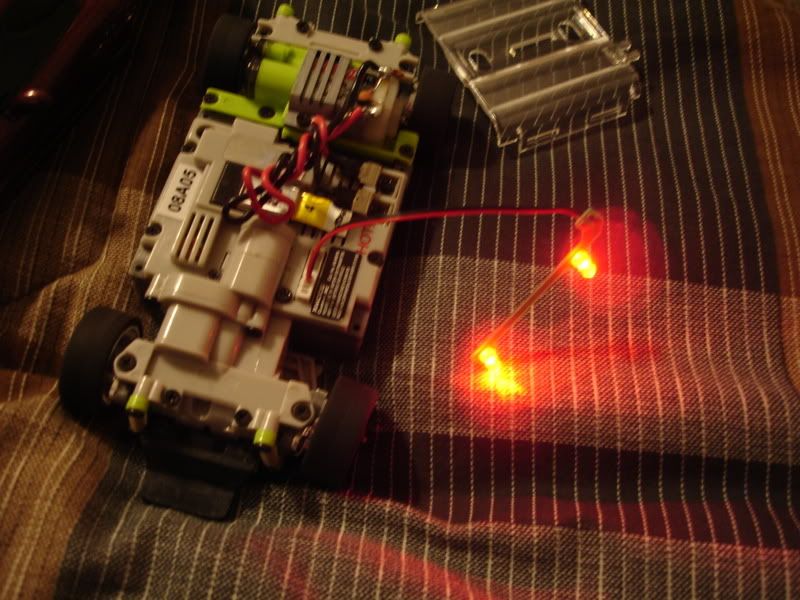
after you have soldered the leds on it is always a good idea to check to see if the leds actually work
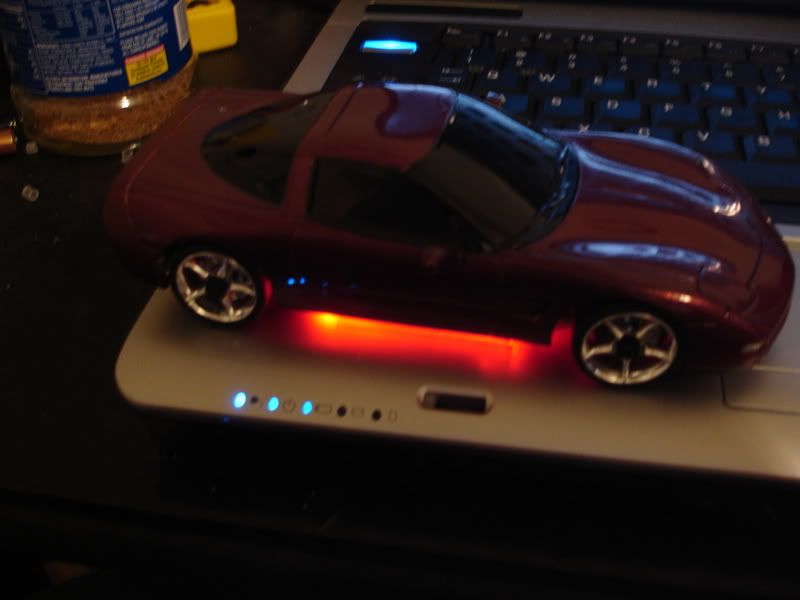
after you know that they work you can glue the new leds to the battery cover and install them on your car

hope this helps